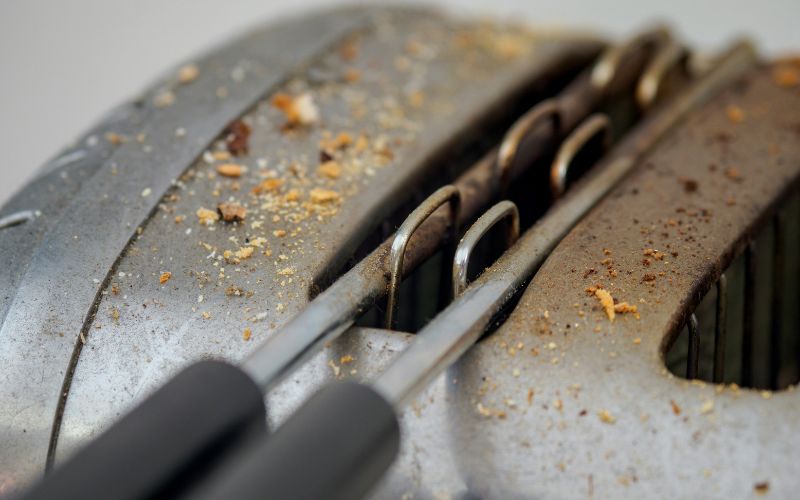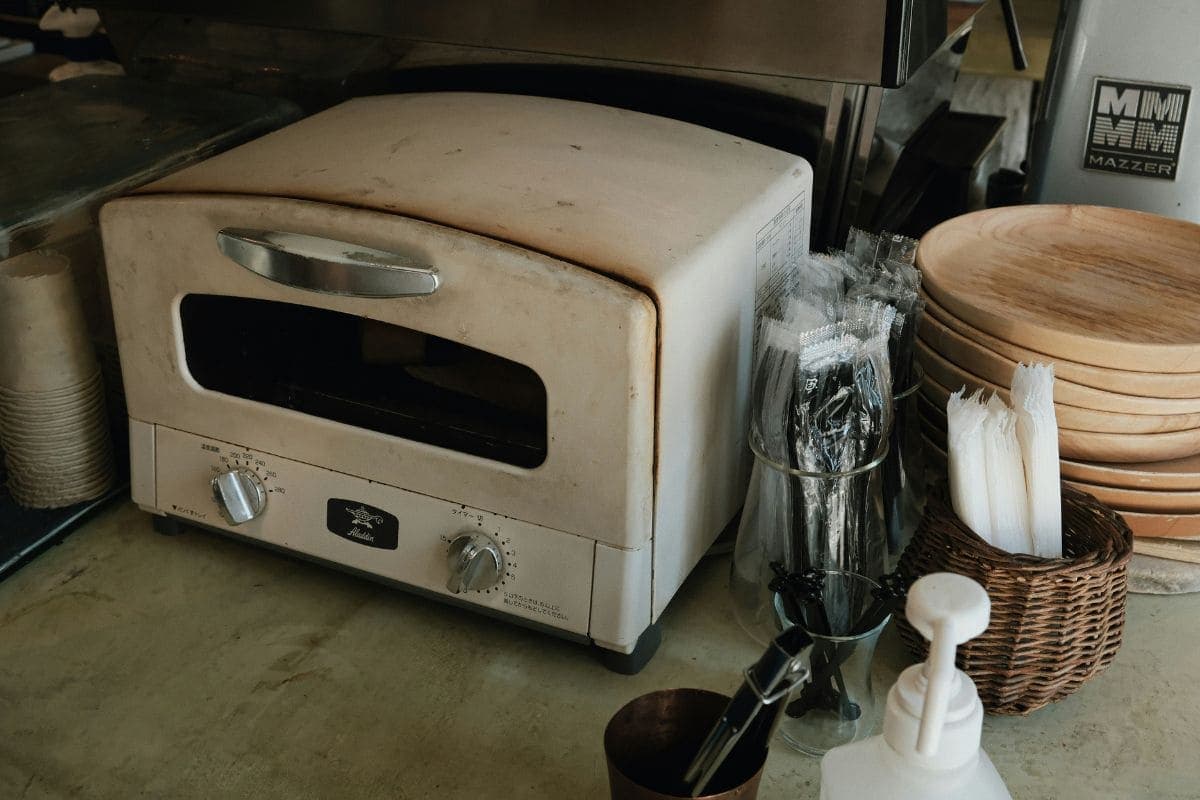
Crumbs, grease, and food residue can build up inside a toaster over time, affecting both cleanliness and performance.
Learning how to clean a toaster properly means knowing which parts can be emptied, wiped, or brushed without damaging the heating elements. Regular care of the crumb tray, interior, slots, and exterior can reduce odors, prevent burnt debris, and help the appliance stay cleaner and safer to use.
1. What Do You Need to Clean a Toaster?
Cleaning a toaster is easier when the right tools are prepared before you start. Many of the same basic supplies also apply when learning how to clean a toaster oven, although larger toaster ovens may require extra attention to racks, trays, and interior surfaces.
| Item | Purpose |
| Soft-bristled brush | Loosens crumbs and debris from slots and interior areas |
| Microfiber cloth | Wipes the exterior without leaving lint or scratches |
| Mild dish soap | Helps remove grease and food residue from removable parts |
| Warm water | Used with soap for washing trays and other washable components |
| Small bowl | Holds diluted cleaning solution |
| Soft sponge | Cleans removable surfaces without harsh abrasion |
| Dry towel | Dries parts thoroughly before reassembly |
| Wooden or silicone utensil | Helps dislodge stubborn crumbs without scratching metal surfaces |
2. How to Clean a Toaster Inside Out
Built-up crumbs and residue can affect both toaster cleanliness and performance, so regular care is worth the effort. When learning how to clean the inside of a toaster, focus on removing loose debris gently without damaging the heating elements.
- Unplug the toaster and allow it to cool completely before cleaning.
- Slide out the crumb tray and empty loose crumbs into a bin or sink.
- Wash the crumb tray with warm water and mild dish soap.
- Let the tray dry completely before placing it back into the toaster.
- Hold the unplugged toaster over a sink or bin and gently turn it upside down to release trapped crumbs.
- Use a soft pastry brush or clean toothbrush to loosen remaining debris inside the slots.
- Avoid pressing against or scraping the heating elements while brushing.
- Wipe the exterior with a damp cloth, then dry it with a clean microfiber cloth.
You should reassemble the toaster only after every removable part is completely dry.
>>> Read More: How to Clean a Blender and Remove Stubborn Residue
3. Toaster vs. Toaster Oven Cleaning: What Is Different?
Standard toasters need relatively simple maintenance because most debris collects in the crumb tray and narrow bread slots.
Toaster ovens require more detailed cleaning since grease and baked-on residue can build up across racks, trays, glass, and the larger cooking chamber.
| Cleaning Aspect | Standard Toaster | Toaster Oven |
| Cleaning frequency | Empty crumbs every 1-2 weeks; wipe the exterior about once a month | Empty the crumb tray every 3-4 uses; deep-clean the interior and glass about monthly |
| Main focus | Crumb tray, bread slots, and exterior | Crumb tray, racks, baking tray, interior walls, and glass door |
| Safety | Unplug completely and let the unit cool before cleaning | Unplug and make sure all interior surfaces and heating elements are fully cool |
| Removable parts | Remove and wash the crumb tray with warm, soapy water | Remove racks, baking tray, and crumb tray; soak them in hot, soapy water |
| Interior cleaning | Use a soft-bristled brush to loosen crumbs without touching or bending heating elements | Wipe greasy walls with mild dish soap or a baking soda paste, avoiding harsh contact with heating elements |
| Stubborn residue | Usually limited to trapped crumbs or light grease | May require a non-scratch sponge or baking soda paste for baked-on grime |
| Exterior and glass | Wipe the shell with a slightly damp cloth and mild soap | Clean the exterior and inside of the glass door with a soft cloth or non-abrasive sponge |
| Drying | Dry the crumb tray fully before reinstalling it | Dry every removable part and interior surface thoroughly before reassembly |
| Water precautions | Never submerge the toaster or allow liquid to enter the slots | Keep excess liquid away from wiring and heating elements; wipe rather than soak the interior |
4. 5 Signs Your Toaster Needs Cleaning
Visible crumbs are not the only clue that a toaster needs attention. Knowing how to clean a toaster becomes especially useful when changes in smell, smoke, or heating performance begin to appear during normal use.