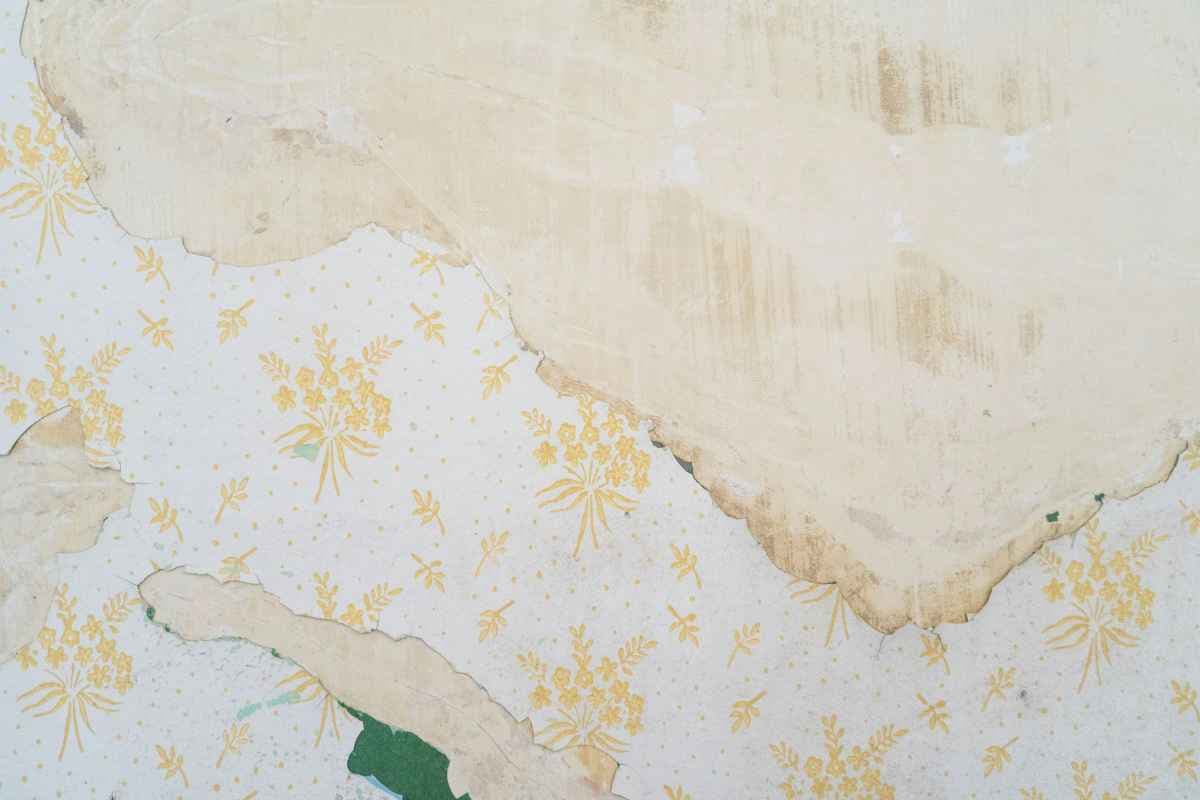
Taking down wallpaper is often less about force and more about figuring out what is holding it to the wall. Once you know how to remove wallpaper, you can choose the right technique for peelable, traditional, or stubborn older coverings while keeping the surface underneath intact.
Careful scoring, soaking, scraping, and adhesive cleanup can make the job smoother and leave the wall in better shape for whatever finish comes next.
1. Practical Tool Checklist to Remove Wallpaper
Having the right supplies ready can make wallpaper removal cleaner, faster, and less damaging to the wall underneath. The exact tools you need may vary depending on whether the wallpaper peels easily, has a vinyl surface, or requires moisture to loosen the adhesive.
- Putty knife or wallpaper scraper: Helps lift edges and remove softened wallpaper without gouging the wall.
- Scoring tool: Creates small perforations so stripping solution can penetrate coated or washable wallpaper.
- Spray bottle or pump sprayer: Applies warm water or wallpaper-removal solution evenly across the surface.
- Sponge: Useful for soaking stubborn sections and wiping away softened adhesive.
- Drop cloths or plastic sheeting: Protect floors, baseboards, and nearby furniture from water and debris.
- Bucket: Holds warm water or cleaning solution during removal and cleanup.
- Rubber gloves: Keep hands protected from adhesive residue and cleaning solutions.
- Ladder or step stool: Provides safer access to wallpaper near ceilings and upper wall sections.
- Clean cloths: Help dry the wall and remove remaining glue before repairs, priming, or painting.
2. How to Prepare the Room for Wallpaper Removal
Room preparation matters because wallpaper removal often involves water, adhesive residue, and plenty of debris. Move furniture away from the walls, cover floors with plastic sheeting or drop cloths, and remove wall décor, outlet covers, and switch plates. Shut off electricity to exposed outlets when moisture will be used nearby, and keep tools organized so the work area stays clear.
Before tackling how to remove old wallpaper, test a small section to see whether the paper peels dry or needs scoring and soaking. Protect baseboards and trim, open windows for ventilation, and keep towels nearby to catch drips. Careful preparation reduces cleanup and helps protect the wall surface underneath.
3. How to Remove Wallpaper Step by Step
Wallpaper comes off more cleanly when you work in small sections and give the adhesive enough time to soften. Gentle peeling, controlled moisture, and careful scraping can protect the drywall while reducing the amount of repair needed afterward.
Step 1: Remove the Top Layer
Start at a loose corner, seam, or edge and gently lift the top layer with your fingers or a putty knife. Pull slowly instead of tearing aggressively, since larger sheets are easier to manage. For how to remove wallpaper border, begin at one end and peel along the strip rather than pulling downward.
Step 2: Score the Wallpaper if Needed
If the surface is coated or does not absorb moisture easily, use a wallpaper scoring tool to make small perforations. Apply light pressure and avoid cutting too deeply, especially over drywall. These tiny openings allow water or stripping solution to reach the adhesive underneath more effectively.
Step 3: Apply Wallpaper Removal Solution
Spray warm water or an appropriate wallpaper-removal solution evenly over a manageable section of the wall. Let it sit for several minutes so the moisture can penetrate the paper and soften the glue. Avoid soaking an entire room at once, because sections may dry before you reach them.
Step 4: Scrape Away the Wallpaper
Slide a putty knife or wallpaper scraper beneath the softened paper at a low angle and push gently. Work gradually across the wall instead of forcing stubborn sections. If the paper resists, apply more solution and allow additional soaking time rather than digging into the drywall surface.
Step 5: Clean Remaining Adhesive
Once the paper is removed, wipe the wall with warm water and a sponge to loosen leftover adhesive. Repeat as needed until the surface no longer feels sticky, then wipe away excess moisture with a clean cloth. Allow the wall to dry completely before patching, sanding, priming, or painting.
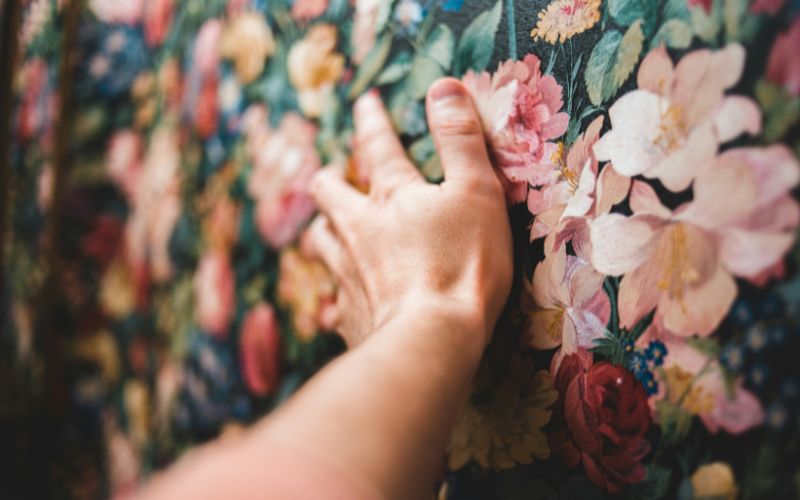
4. Remove Different Types of Wallpaper
Peel-and-stick wallpaper is usually the easiest type to remove because it uses pressure-sensitive adhesive rather than traditional paste. Start at a corner and pull the sheet back slowly at a low angle. If the adhesive feels stubborn, gentle heat from a hair dryer can help soften it.
Peel-and-Stick Wallpaper
Peel-and-stick wallpaper is usually the easiest type to remove because it uses pressure-sensitive adhesive rather than traditional paste. Start at a corner and pull the sheet back slowly at a low angle. If the adhesive feels stubborn, gentle heat from a hair dryer can help soften it.
Vinyl Wallpaper
Vinyl wallpaper has a moisture-resistant surface that can prevent water from reaching the adhesive underneath. Peel away the top vinyl layer first, then score the backing if needed. Apply warm water or stripping solution, allow it to soak, and scrape the softened paper carefully without digging into the wall.