How to Make Gravy: An Easy Formula for Smooth, Flavorful Gravy
Silky gravy can transform roasted meat, mashed potatoes, biscuits, and vegetables into a richer, more satisfying meal. Mastering how to make gravy comes down to balancing fat, flou...
Quincy D.-Sep 29, 2026
Image by Unsplash
Table of Contents
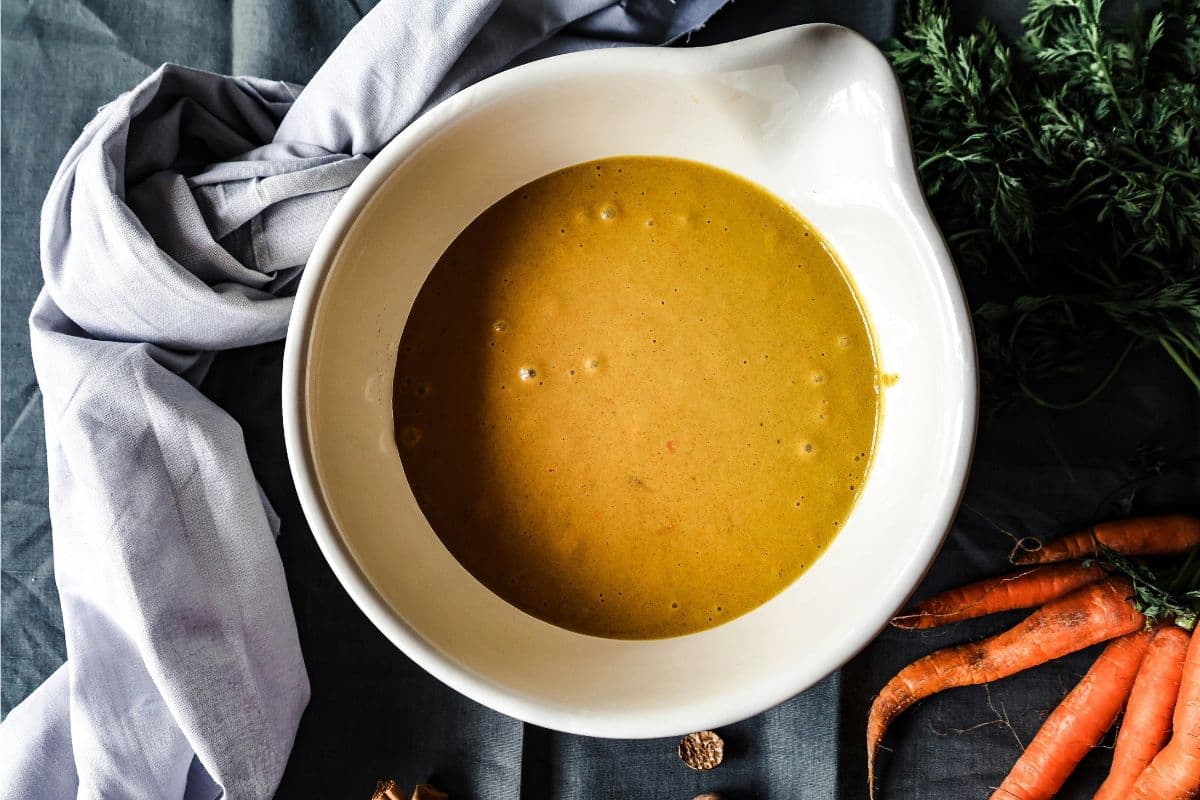
Silky gravy can transform roasted meat, mashed potatoes, biscuits, and vegetables into a richer, more satisfying meal. Mastering how to make gravy comes down to balancing fat, flour, and flavorful liquid while controlling heat and whisking carefully.
Small adjustments in seasoning and thickness allow the sauce to complement almost any dish. This guide covers essential ingredients and a dependable seven-step method for smooth, lump-free results every time.
1. What Basic Ingredients Are Required to Make Homemade Gravy
Homemade gravy relies on a simple balance of fat, flour, and broth, with seasonings added to enhance the finished sauce. Quantities below produce approximately two to three cups, depending on how much liquid is used and the preferred consistency.
2. How to Make Gravy Step by Step (Original Version)
Smooth gravy depends on patient whisking, gradual additions, and moderate heat rather than complicated cooking techniques. Follow each stage carefully to create a glossy sauce that tastes balanced and coats food without becoming heavy or lumpy.
Step 1: Start With Fat
Melt butter slowly in a saucepan over medium heat, or warm strained pan drippings without allowing them to burn. For cooks exploring how to make sausage gravy, rendered sausage fat can form the flavorful base before flour and milk are incorporated.
Step 2: Whisk in the Flour
Sprinkle flour gradually over the hot fat while whisking continuously. Cook the mixture for one to two minutes until smooth and lightly golden, removing the raw flour taste while creating a roux that will thicken the gravy evenly.
Step 3: Add the Liquid Gradually
Pour broth into the roux in a slow, steady stream, whisking constantly as it enters the pan. Begin with a small amount to loosen the mixture, then continue adding liquid gradually to prevent lumps and maintain a smooth texture.
Step 4: Bring the Gravy to a Gentle Simmer
Raise the heat slightly until small bubbles appear, then reduce it to maintain a gentle simmer. Stir frequently as the gravy cooks for several minutes, allowing the flour to activate fully and the sauce to thicken without scorching.
Step 5: Season After the Base Comes Together
Wait until the gravy has thickened before adding salt, pepper, poultry seasoning, or herbs. Pan drippings and store-bought broth may already contain sodium, so seasoning near the end helps prevent an overly salty or unbalanced finished sauce.
Step 6: Adjust the Consistency
Thin overly thick gravy by whisking in additional broth, one tablespoon at a time. If the sauce remains too loose, simmer it slightly longer while stirring, giving excess moisture time to evaporate naturally without adding more flour.
Step 7: Taste Before Serving
Spoon out a small amount and check its flavor, thickness, and smoothness before removing the pan from the heat. Add another pinch of seasoning if needed, then serve the gravy immediately while it remains warm, glossy, and easy to pour.
Smooth gravy depends on patient whisking, gradual additions, and moderate heat rather than complicated cooking techniques. (Image by Unsplash)
3. How to Make Gravy From Turkey Drippings?
Turkey drippings capture roasted juices, rendered fat, and browned bits that give homemade gravy exceptional depth. Turning those concentrated flavors into a smooth sauce requires careful straining, a balanced roux, and gradual additions of stock.
Step 1: Collect and Strain the Drippings
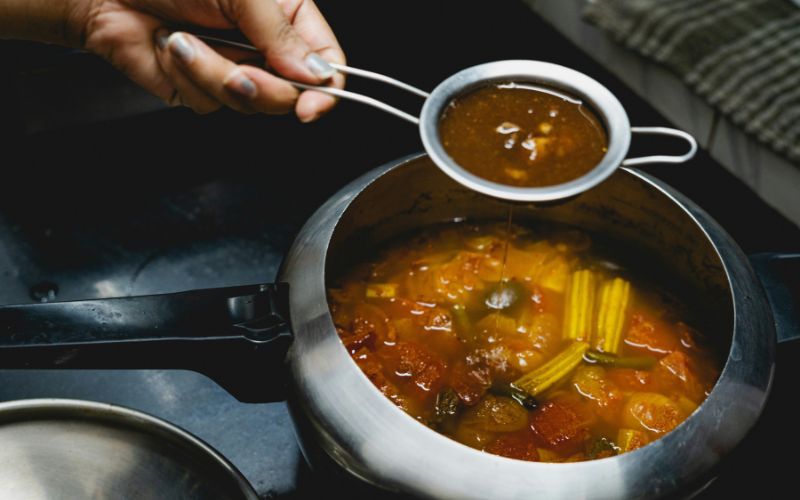
Pour the liquid from the roasting pan through a fine-mesh strainer into a heatproof measuring cup. Remove burned pieces while preserving the flavorful juices and fat, then allow the mixture to rest briefly so the layers begin separating.
Step 2: Deglaze the Roasting Pan
Place the roasting pan over low heat and add a small amount of turkey or chicken stock. Scrape the browned bits from the bottom with a wooden spoon, then strain this concentrated liquid into the reserved drippings for deeper roasted flavor.
Step 3: Separate and Measure the Fat
Skim the rendered fat from the surface and measure the amount needed for the roux. Anyone learning how to make turkey gravy can supplement insufficient turkey fat with butter while keeping the savory pan juices for the liquid base.
Step 4: Prepare a Golden Roux
Heat the measured turkey fat or butter in a saucepan over medium heat. Whisk in an equal amount of flour and cook for about three minutes, stirring continuously, until the roux becomes smooth, fragrant, and pale golden brown.
Step 5: Whisk in the Flavorful Liquid
Combine the strained pan juices with enough low-sodium stock to reach the required volume. Pour this liquid into the roux in a thin, steady stream while whisking vigorously to create a silky gravy without flour lumps.
Step 6: Simmer Until Properly Thickened
Bring the mixture briefly to a boil, then reduce the heat and simmer gently. Continue whisking until the gravy coats the back of a spoon, adding extra stock if it becomes thicker than desired during cooking.
Step 7: Season and Finish the Gravy
Taste the gravy only after it has reduced because its flavors and saltiness become more concentrated while simmering. Add salt and black pepper as needed, then strain once more for an especially smooth texture before serving.
Minor adjustments in heat, seasoning, and technique can noticeably improve homemade gravy. Use these practical tips to prevent lumps, control consistency, and create a sauce with richer flavor and a smoother finish.
Match the fat and flour quantities carefully, since too much flour can produce a pasty texture while insufficient flour leaves the gravy thin.
Cook the roux for at least one to three minutes to remove the raw flour taste, but avoid letting it burn or become excessively dark.
Add broth slowly while whisking continuously, especially during the first few pours when the roux is most likely to form stubborn lumps.
Choose low-sodium broth so the gravy can reduce without becoming overly salty, then adjust the seasoning shortly before serving.
For example, cooks researching how to make brown gravy can brown the roux slightly longer and use beef broth for deeper color and flavor.
Thin gravy with warm broth rather than cold liquid, adding only a small amount at a time until the preferred consistency returns.
Strain lumpy gravy through a fine-mesh sieve or blend it briefly, then return it to gentle heat before serving.
5. How to Store and Reheat Leftover Gravy?
Proper storage preserves the flavor and texture of leftover gravy while reducing the risk of bacterial growth. Cooling, refrigerating, freezing, and reheating it correctly keeps each portion smooth, safe, and ready for another meal.
Cool the Gravy Promptly
Transfer leftover gravy into a shallow container so it cools more quickly and evenly. Refrigerate it within two hours of cooking, rather than leaving it on the counter overnight. Anyone mastering how to make gravy should also know that proper cooling is essential for safe storage.
Refrigerate in an Airtight Container
Store cooled gravy in a clean, airtight container at 40°F or below, and use it within three to four days. Keeping the lid tightly sealed prevents odors from affecting its flavor and stops the surface from drying out or developing an unpleasant skin.
Freeze Gravy for Longer Storage
Pour gravy into freezer-safe containers or resealable bags, leaving a little room for expansion. Label each portion with the storage date and freeze it for two to three months for the best quality. Flour-based gravy generally freezes better than dairy-heavy versions.
Reheat Gravy on the Stovetop
Place refrigerated or thawed gravy in a saucepan over low to medium heat. Whisk frequently until it reaches a boil and becomes evenly hot, adding a splash of broth or water if necessary to restore its original smooth, pourable consistency.
Reheat Smaller Portions in the Microwave
Transfer one portion to a microwave-safe bowl and cover it loosely to control splattering. Heat in short intervals, stirring thoroughly between each round to eliminate cold spots. Continue until the gravy is steaming hot throughout, then serve it immediately.
Final Thoughts
Learning how to make gravy gives you an easy way to turn simple meals into something more flavorful and satisfying. Whether you prefer a classic brown gravy, a creamy version, or a quick pan gravy, the key is balancing the fat, flour, liquid, and seasonings.
With the right consistency and a few simple adjustments, homemade gravy can complement everything from mashed potatoes and roasted meats to biscuits and vegetables. Once you have the basic method down, you can easily adapt the recipe to suit different meals and tastes.
Share
TAG Blog
Stories, guides, and helpful updates for staying connected.