How to Descale a Keurig: Step-by-Step Cleaning Guide
A Keurig that brews more slowly, produces smaller cups, or leaves your coffee tasting a little different may need more than a quick rinse. Mineral buildup inside the brewer can gra...
Quincy D.-Sep 30, 2026
Image by Unsplash
Table of Contents
A Keurig that brews more slowly, produces smaller cups, or leaves your coffee tasting a little different may need more than a quick rinse. Mineral buildup inside the brewer can gradually interfere with its performance, which makes how to descale a Keurig an important part of routine maintenance.
This guide covers what you need, the steps to follow, and a few practical tips for keeping your machine in good working condition.
1. What Supplies Are Needed to Descale a Keurig Coffee Maker?
Preparing everything before you start makes the descaling process smoother and prevents interruptions once the cleaning cycle begins. Exact requirements can vary slightly by model, but these basic supplies cover most standard Keurig brewers.
Supply
Recommended Quantity
Main Purpose
Keurig Descaling Solution
1 bottle
Breaks down mineral and scale buildup inside the brewer
Fresh Water
Enough for several rinse cycles
Dilutes the solution and flushes residue from the system
Large Ceramic Mug
1
Collects liquid during descaling and rinse cycles
Sink Access
1 nearby sink
Allows you to empty used solution and rinse the reservoir
Clean Cloth
1
Wipes spills and cleans exterior surfaces if needed
Keurig’s official instructions specify a large ceramic mug, fresh water, descaling solution, and access to a sink for many brewer models.
2. How to Descale a Keurig Machine With Descaling Solution?
Scale develops naturally as water passes through the heating system, so periodic cleaning helps maintain normal water flow and brewer performance. When learning how to descale a Keurig coffee maker, follow the instructions for your specific model because some steps and rinse quantities may differ.
Step 1: Empty the Water Reservoir
Turn off the brewer and empty any remaining water from the reservoir before beginning the descaling process. Remove the water filter cartridge as well if your Keurig model uses one. Starting with a completely empty tank helps prevent leftover water from diluting the descaling solution and weakening its cleaning performance.
Step 2: Add the Descaling Solution
Pour the recommended amount of Keurig Descaling Solution into the empty water reservoir, following the instructions for your specific model. On many full-size brewers, this means adding the entire bottle, refilling that bottle with fresh water, and then pouring the water into the reservoir to dilute the solution properly.
Step 3: Place a Large Mug Under the Brewer
Place a large ceramic mug securely on the drip tray before starting any descaling cycle. Avoid using paper or lightweight cups, since hot cleaning liquid will flow through the brewer during the process. A sturdy ceramic mug provides safer collection and reduces the risk of spills, leaks, or accidental burns.
Step 4: Run Cleansing Brew Cycles
Start a brewing cycle without inserting a K-Cup pod, selecting the largest available brew size if your model allows it. Once the cycle finishes, carefully empty the mug into the sink. Repeat the process several times until the brewer indicates that the reservoir needs more water before continuing.
Step 5: Let the Brewer Rest
Once the descaling solution has circulated, allow the machine to sit for the period recommended for your model. Many Keurig instructions call for at least 30 minutes, giving the solution time to loosen remaining mineral deposits.
Step 6: Rinse the Water Reservoir
Discard any remaining descaling liquid and thoroughly rinse the reservoir with fresh water. Make sure no solution remains before beginning the final rinse stage, since leftover cleaner can affect the taste of subsequent beverages.
Step 7: Run Fresh-Water Rinse Cycles
Fill the reservoir with fresh water and run repeated cleansing brews without a K-Cup pod. Some Keurig models recommend at least 12 rinse cycles, refilling the reservoir when necessary until any remaining solution is completely flushed out.
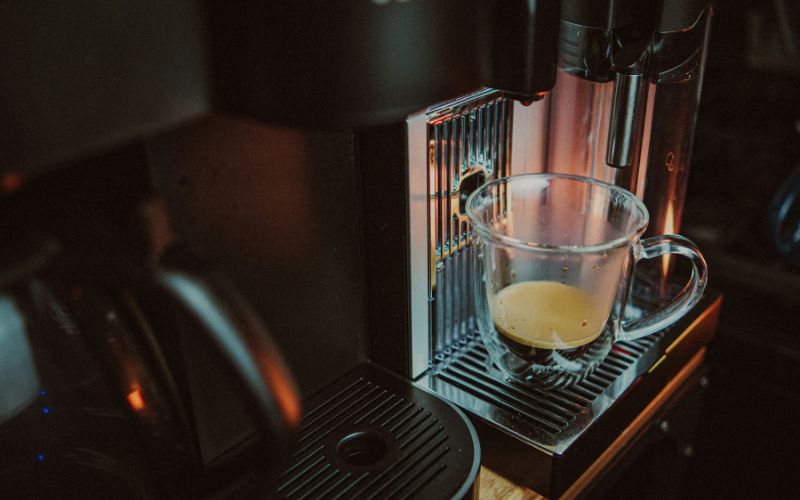
Descale a Keurig with descaling solution to remove mineral buildup and maintain steady water flow. (Image by Unsplash)
3. How to Descale a Keurig With Vinegar?
White vinegar can help break down mineral deposits when used with a compatible Keurig model. Because cleaning instructions vary between brewers, check your owner’s manual first and rinse thoroughly afterward to prevent residual vinegar taste or odor.
Step 1: Empty the Reservoir and Remove the Filter
Turn off the brewer, empty all remaining water from the reservoir, and remove the water filter if your model uses one. Starting with a clean reservoir helps the vinegar work directly on mineral buildup inside the machine.
Step 2: Add White Vinegar
Pour white vinegar into the reservoir according to the instructions for your brewer. Some older Keurig guidance calls for undiluted white vinegar, so avoid assuming every model uses the same vinegar-to-water ratio.
Step 3: Run Brew Cycles Without a Pod
Place a ceramic mug on the drip tray and run a brew cycle without inserting a K-Cup pod. Empty the mug after each cycle and continue brewing until the machine indicates that more water is needed.
Step 4: Let the Vinegar Sit
After the initial brew cycles, allow the vinegar to remain inside the brewer for the recommended resting period. Older Keurig vinegar instructions call for several hours, giving the acidic solution more time to loosen stubborn scale.
Step 5: Empty and Rinse the Reservoir
Discard any remaining vinegar once the soaking period is complete, then rinse the reservoir thoroughly with fresh water. Careful rinsing at this stage helps remove concentrated vinegar before you begin flushing the internal brewing system.
Step 6: Flush the Brewer With Fresh Water
Refill the reservoir with fresh water and run repeated brew cycles without a pod until the vinegar smell and taste disappear. For example, how to descale a Keurig Slim should follow that model’s specific descaling instructions rather than automatically using an older vinegar method.
4. How Many Rinse Cycles are Necessary After Descaling?
Rinse requirements depend on the Keurig model and descaling system. Older instructions may call for at least 12 fresh-water brews, while newer machines with Descale Mode often require repeated rinsing until the notification turns off and the brewer automatically exits Descale Mode. Always follow your model’s instructions.
5. FAQs about How to Descale a Keurig
Descaling questions often focus on timing, cleaning frequency, filter removal, and proper rinsing. Clear answers to these points can make the maintenance process easier and help prevent mineral buildup from affecting your Keurig’s performance.
How Long Does It Take to Descale a Keurig?
Descaling a Keurig usually takes around 45 minutes to one hour, depending on the model and cleaning method. Some machines include a soaking period, while others use Descale Mode with several rinse cycles. Allow enough time to complete every step instead of rushing the process or skipping rinses.
How Often Should You Descale a Keurig?
Keurig generally recommends descaling about every three months, although the exact schedule can depend on usage and water hardness. Frequent brewing or mineral-rich water may cause scale to build up faster. Follow your brewer’s maintenance indicator and descale sooner if water flow becomes noticeably slower.
Do You Remove the Water Filter Before Descaling a Keurig?
Yes, the water filter cartridge should be removed before adding descaling solution to the reservoir. Taking it out prevents the filter from absorbing the cleaner and allows the solution to circulate properly through the machine. Reinstall or replace the filter only after rinsing is fully completed.
How Many Times Should You Rinse a Keurig After Descaling?
Rinse requirements vary by Keurig model, but several fresh-water cycles are usually necessary to remove all cleaning residue. Older instructions may call for around 12 rinsing brews, while newer Descale Mode machines should continue running water until the mode ends and no solution remains.
Final Thoughts
Fresh-tasting coffee starts with a brewer that is free from stubborn mineral buildup. Learning how to descale a Keurig helps maintain steady water flow, reliable brewing performance, and cleaner-tasting drinks over time.
Whether using an approved descaling solution or another model-appropriate method, thorough rinsing is essential before brewing again. For more practical household and everyday guides, visit TAG Mobile’s blog.
Share
TAG Blog
Stories, guides, and helpful updates for staying connected.