How to Swap eSIM Between Phones: A Seamless 2026 Guide
It’s not always necessary to change your mobile plan or phone number when switching devices. If you’re using digital SIM technology, learning how to swap eSIM between phones can help you move your service quickly without dealing with physical SIM cards. Typically, the procedure entails moving or reactivating the eSIM profile on a different device. See the TAG Mobile guide below for comprehensive instructions, compatibility advice, and practical advice.
1. Can You Swap an eSIM Between Phones?
Yes. It is possible to switch an eSIM between phones, but it is not the same as switching a physical SIM card. An eSIM cannot just be taken out and put into another phone because it is a digital profile that is stored inside the device. Rather, the carrier typically demands that you move or reactivate the eSIM on the new device.
This transfer is typically accomplished by using a carrier app, scanning a new QR code, or utilizing an integrated transfer feature between compatible devices. Your carrier and whether the new phone supports eSIM technology will determine the precise procedure.
The eSIM profile of the old phone is typically automatically disabled after the transfer is finished and the new device is activated.
2. How to Swap eSIM From iPhone to iPhone
Transferring an eSIM from one iPhone to another is a built-in feature designed to simplify device upgrades. As long as both iPhones support eSIM and are running compatible iOS versions, users can usually complete the transfer within a few minutes during the setup process.
Step 1: Turn On Your New iPhone
First, the user should power on the new iPhone and place it near the old device. Apple recommends keeping both phones close together with Bluetooth enabled so the devices can detect each other and prepare for the transfer process.
Step 2: Follow the Setup Process
Next, follow the on-screen instructions that appear during the standard iPhone setup. As the system progresses through language, Wi-Fi, and Apple ID configuration, the device will eventually reach the cellular setup section, where available eSIM plans can be transferred.
Step 3: Choose “Transfer From Nearby iPhone”
At this point, the new iPhone will display an option called Transfer From Nearby iPhone. When the user selects this option, Apple securely connects both devices and prepares to move the cellular profile. For many people learning how to swap eSIM between phones, this built-in transfer feature is the simplest and fastest method available.
Step 4: Confirm the Transfer on the Old Device
After selecting the transfer option, the old iPhone will display a confirmation request. The user must review the information shown on the screen and approve the transfer so that the cellular plan can move to the new device.
Step 5: Wait for the Cellular Plan to Activate
Once confirmation is complete, the system begins transferring the eSIM profile automatically. The new iPhone will download and activate the cellular plan, while the old device will deactivate its previous eSIM connection. After activation finishes, the user can test calls, messages, and mobile data to ensure everything is working correctly.
>>> Read More: How to Transfer eSIM to New iPhone: A Seamless Guide
3. How to Swap eSIM Between Android Phones
Transferring an eSIM between Android phones is usually straightforward, but the exact steps can vary slightly depending on the device brand and your carrier. In most cases, users will need to activate the eSIM again on the new phone using a QR code or carrier-provided instructions.
Step 1: Open Settings on the New Android Phone
First, you turn on your new Android phone and unlock the screen. Then open the Settings app, which is where Android devices manage network connections, SIM cards, and mobile data options.
Step 2: Go to Network & Internet or SIM Manager
Inside Settings, scroll until you find Network & Internet, Connections, or SIM Manager. Different manufacturers label this section differently, but it is where the phone allows you to manage both physical SIM cards and digital eSIM profiles.
Step 3: Select “Add eSIM”
Once you enter the SIM management section, tap Add eSIM or Add Mobile Plan. At this stage, the phone prepares to install a new eSIM profile.
For many people, figuring out how to swap eSIM between phones, this step is where the actual transfer process begins.
Step 4: Scan the Carrier QR Code
Next, the device will prompt you to scan a QR code provided by your carrier. Most carriers send this code through email, their mobile app, or customer support after you request an eSIM transfer.
Step 5: Activate the Plan on the New Phone
After the QR code is scanned, the new Android phone will download the eSIM profile and begin activation. Once the process finishes, your cellular plan should start working on the new device, while the old phone will typically lose its connection to that eSIM profile.
At that point, you can make a quick test call or turn on mobile data to confirm that everything is working properly.
4. What to Do Before Swapping an eSIM
There are a few things you should do in advance of moving an eSIM to another device. By preventing activation errors, these checks facilitate a more seamless transfer process.
- Confirm that the new phone supports eSIM: eSIM technology is not compatible with all smartphones. Make sure the new phone is compatible with eSIM activation by reviewing the device specs or cellular settings before beginning the transfer.
- Make sure the phone is unlocked: Your device might not accept a new eSIM profile if it is locked to a particular carrier. Before starting the transfer, make sure the phone is completely unlocked by contacting your carrier or checking the settings on your device.
- Back up important data: Backing up your contacts, messages, and files is always a good idea, even though switching an eSIM does not erase data. This guarantees that during the device switch, nothing crucial is lost.
- Remove or deactivate the old eSIM if required: While some carriers require manual removal from the old device, others deactivate the old eSIM automatically during the transfer. Users learning how to switch ESIM between phones without disrupting service will find it useful to comprehend this step.
- Prepare the carrier QR code or activation method: The majority of eSIM transfers necessitate using a carrier app or scanning a QR code to activate the plan on the new phone. The activation process will be quicker and simpler if you have this information ready in advance.
5. Upgrading Your Phone? Connectivity Should Be Simple
Upgrading to a new phone should make your life easier, not more complicated. When switching devices, many people want a simple way to keep their number, activate service quickly, and avoid complicated setup steps.
For eligible households in the United States, the Lifeline Program helps make mobile connectivity more accessible by supporting discounted or free wireless service. Through participating providers, users may qualify for essential mobile service that keeps them connected to work, healthcare, education, and family.
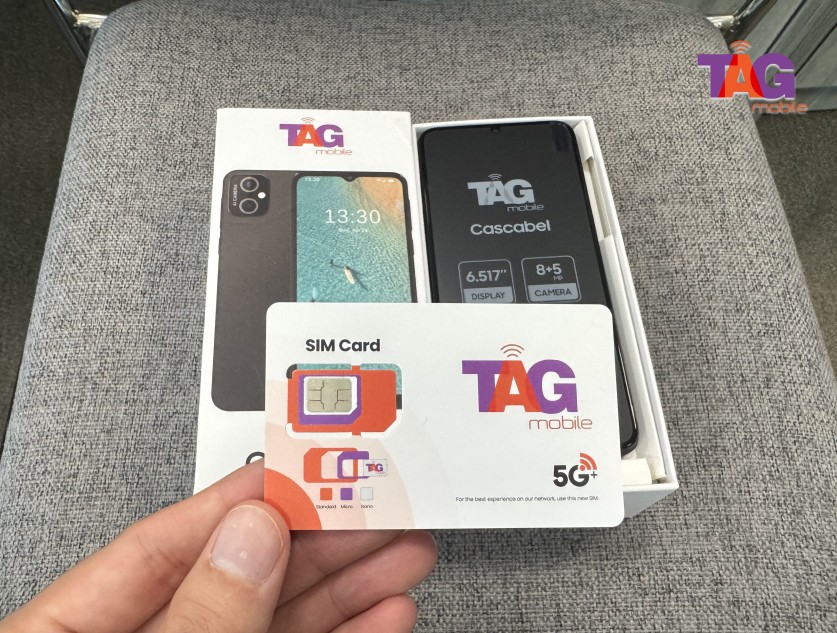
Lifeline providers such as TAG Mobile offer qualifying users access to free or upgraded smartphones along with monthly plans that include talk, text, and data. Many devices can also be activated with a free eSIM service, making it easier to start using your phone without inserting a physical SIM card.
With a compatible device and the right plan, your phone can arrive ready to activate in just a few steps. This makes upgrading your device and staying connected much simpler, especially when reliable service and flexible digital SIM options are available through TAG Mobile.
6. Final Words
Understanding how to swap eSIM between phones can make upgrading or switching devices much easier. Instead of dealing with tiny SIM cards, users can move their mobile service digitally with just a few steps. If your carrier permits transfers and your new device supports eSIM, the process is typically safe and quick.
It might also be beneficial to look into TAG Mobile’s plans and compatible devices if you’re searching for dependable service with flexible eSIM options. Maintaining a connection across devices becomes easy and hassle-free with the correct setup and assistance.
Notice: The government does not cover device costs, only basic service through Lifeline. Any free or discounted devices, upgrades, or top-ups are limited-time TAG Mobile offers and may vary by state, eligibility, and availability. Terms and conditions apply.
- Share This:
-

-

-

-

-

About the author
