

How to Iron a Shirt: 5+ Tips That Prevent New Wrinkles
Crisp dress shirts depend on more than heat alone; fabric type, ironing order, moisture, and technique all affect the finish. A practical approach to how to iron a shirt starts with checking the care label, setting the right temperature, and working section by section to avoid creating fresh creases.
With a few simple habits, collars, cuffs, sleeves, and body panels can stay smooth, sharp, and ready to wear.
1. How to Iron a Shirt in 7 Simple Steps
Start with a clean ironing board, the correct heat setting, and a shirt that is slightly damp or lightly misted. Working in a fixed order helps smooth each section efficiently while reducing the chance of pressing new wrinkles into areas you have already finished.
Step 1: Check the Care Label and Set the Iron
Read the shirt’s care label before switching on the iron, since cotton, linen, polyester, and blended fabrics require different temperatures. Use lower heat for synthetics and higher heat for sturdy cotton, adjusting gradually rather than starting too hot.
Step 2: Begin With the Collar
Unbutton the collar and lay it flat on the ironing board. Press from the outer edges toward the center on both sides, then fold it back into position. Avoid pressing too aggressively along the fold, which can create an unnaturally sharp crease.
Step 3: Iron the Cuffs
The next step in how to iron a shirt is to open each cuff completely and lay it flat with the inside facing upward first.
Press carefully around buttons rather than directly over them, then turn the cuff over and smooth the outside. Keep the fabric stretched gently to prevent small wrinkles from forming.
Step 4: Smooth the Sleeves
Lay one sleeve flat with the seam aligned along the edge, then press from the shoulder toward the cuff. Repeat on the other sleeve, checking that the fabric is not folded underneath. If you prefer no sleeve crease, rotate the sleeve slightly while ironing.
Step 5: Press the Shirt Front
Place one front panel flat on the board and work around buttons, pockets, and seams with the iron tip.
Move gradually from top to bottom, then repeat on the opposite side.
If you need to know how to unwrinkle a shirt without an iron, steaming or hanging it in a humid bathroom can help with light creases.
Step 6: Iron the Back and Shoulders
Spread the back panel smoothly across the board and press from the upper section downward. For the shoulder area, position the shirt over the narrow end of the ironing board so the fabric lies flat without bunching around seams or the yoke.
Step 7: Hang the Shirt Immediately
Once every section is smooth, place the shirt on a hanger while it is still warm. Button the top or second button to help maintain its shape, then allow the fabric to cool completely before wearing or storing it to reduce fresh wrinkles.
2. Match the Heat to the Shirt, Not Your Patience
The right temperature can make the difference between a crisp finish and a scorched or shiny shirt. Instead of increasing heat to work faster, match the iron setting to the fabric and adjust moisture, pressure, and technique accordingly.
Cotton Shirts
Cotton usually tolerates medium to high heat, especially when the fabric is slightly damp. Steam can help relax stubborn wrinkles, but always check the care label first because blended cotton may need a lower setting.
When learning how to iron a dress shirt, cotton is generally one of the easiest fabrics to press cleanly.
Linen Shirts
Linen responds well to high heat and plenty of steam because its fibers wrinkle deeply and easily. Iron it while slightly damp for smoother results, working steadily before the fabric dries completely. Press both sides when necessary, but avoid leaving the iron stationary for too long.
Polyester and Synthetic Blends
Polyester and synthetic blends need lower temperatures because excessive heat can melt fibers, create shine, or permanently damage the surface.
Use light pressure and minimal steam unless the care label allows more. A pressing cloth can add extra protection when working with delicate synthetic finishes.
Silk or Delicate Shirts
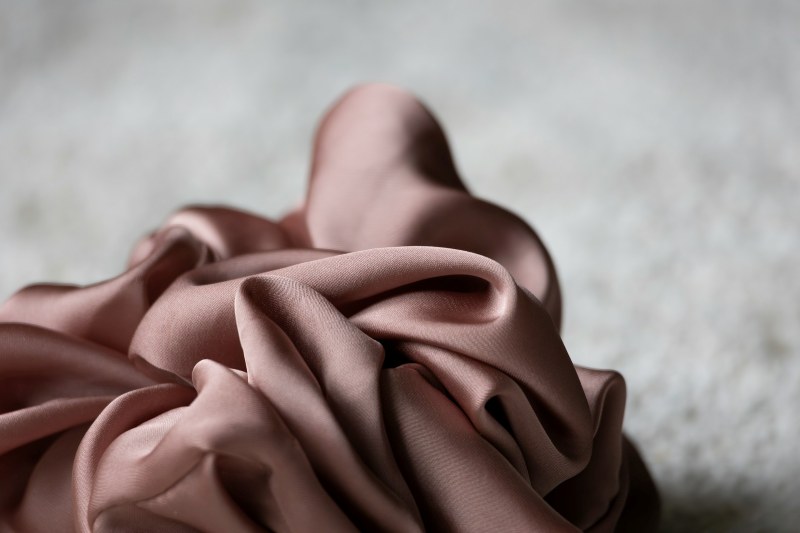
Silk and other delicate fabrics need extra care when following the basic steps for how to iron a shirt.
Use low heat, preferably while the fabric is slightly damp and turned inside out. Avoid heavy steam, strong pressure, or direct contact with decorative finishes. A clean pressing cloth can also help prevent water spots and heat marks.
Printed or Embellished Shirts
Printed graphics, embroidery, sequins, and other decorations require extra care because direct heat can distort, melt, or flatten them. Turn the shirt inside out and press from the reverse side whenever possible. Use low to moderate heat and avoid running the iron directly over raised details.
>>> Read More: How to Remove Oil Stains From Clothes Without Setting Them In
3. Need the Shirt Ready in 5 Minutes? Use This Priority Order
When time is limited, focus on the parts of the shirt that are most visible once you put it on. Prioritizing the collar, placket, chest, cuffs, and exposed sleeve areas can create a polished look without ironing every inch.
1. Collar
Start with the collar because it frames the face and is one of the first areas people notice. Lay it flat, press from the outer edges toward the center, and smooth both sides. Avoid over-creasing the fold, which can make the collar look stiff rather than clean.
2. Front Placket
The front placket runs along the button line and strongly affects how neat the shirt appears. When working on how to iron a button up shirt, press carefully around the buttons rather than over them, using the iron tip to flatten the narrow spaces in between.
3. Upper Chest
Focus on the upper chest because this area stays highly visible under jackets, sweaters, or open outer layers. Lay each front section flat and press outward from the center. Smooth the fabric first so you do not accidentally iron new creases into the shirt.
4. Cuffs
Cuffs can make a shirt look unfinished if they remain wrinkled, especially when sleeves are rolled or exposed. Unbutton them, lay them flat, and press both sides with moderate pressure. Work around buttons carefully and avoid forcing the iron into thick seams.
5. Visible Sleeve Areas
Finish with the sleeve sections most likely to be seen, especially from the forearm to the cuff. Flatten the fabric along the seam and press in smooth strokes. If time is extremely short, skip hidden upper-sleeve sections that will sit beneath a jacket or sweater.
4. Ironing Mistakes That Can Damage a Shirt
Ironing can improve a shirt quickly, but the wrong temperature, pressure, or technique can leave shine, scorch marks, stretched seams, or damaged details. Avoiding these common mistakes helps protect the fabric while still creating a cleaner, more polished finish.
1. Using Too Much Heat
Setting the iron hotter than the fabric can handle may scorch cotton blends, melt synthetics, or create shiny patches. Always follow the care label and select the iron setting appropriate for the fabric’s fiber content. For blends, use the temperature suitable for the most heat-sensitive fiber.
2. Ironing Over Buttons or Decorations
Pressing directly over plastic buttons, printed graphics, embroidery, or embellishments can crack, melt, or flatten them. Work around buttons with the iron tip and turn decorated shirts inside out when possible. A pressing cloth can also create a safer barrier.
3. Leaving the Iron in One Spot
Holding the iron still for too long can create heat marks or permanently damage fibers. Keep it moving in smooth, controlled strokes and lift it whenever you need to reposition the shirt. Concentrated heat is especially risky on synthetics and dark fabrics.
4. Ironing Deep Wrinkles Completely Dry
Stubborn creases are harder to remove when fabric is completely dry, which often leads people to use unnecessary heat or pressure. Lightly misting the shirt or using appropriate steam can relax fibers first. For how to iron a shirt without an iron, a garment steamer or controlled bathroom steam can help with lighter wrinkles.
5. Folding the Shirt While It Is Still Warm
Folding immediately after ironing can press fresh creases back into the fabric before it has cooled and set. Hang the shirt right away, button one or two upper buttons, and allow it to cool completely before wearing, packing, or placing it in a closet.
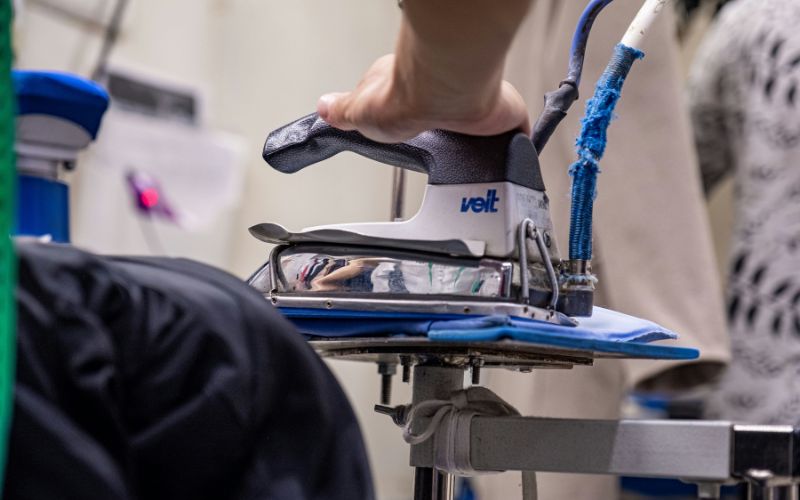
5. FAQs about Ironing a Shirt
Shirt care becomes much easier when you match the ironing method to the fabric, moisture level, and finish you want.
For how to iron a shirt, these common questions clarify when to turn garments inside out, use steam, or work with slightly damp fabric.
Should I iron a shirt inside out?
Sometimes. Turning a shirt inside out is especially useful for dark fabrics, prints, embroidery, or delicate finishes because it reduces the risk of shine and surface damage. Plain cotton shirts can usually be ironed from the outside if the care label allows it.
Is it better to iron shirts wet or dry?
Slightly damp shirts are usually easier to iron because moisture helps relax wrinkles and fibers. The fabric should not be soaking wet, though; a light mist or residual moisture after washing is generally enough for smoother results.
Should I use steam when ironing a shirt?
Steam can be very helpful for cotton, linen, and other fabrics with stubborn wrinkles. Delicate or heat-sensitive materials may require less steam, so always check the care label and test cautiously before applying more moisture or heat.
How long does it take to iron a dress shirt?
A dress shirt usually takes around 5 to 10 minutes once you have a consistent routine. Heavily wrinkled fabric, detailed cuffs, pleats, or delicate materials can extend the process, while a quick touch-up may take only a few minutes.
6. Final Thoughts
Crisp results come from balancing heat, moisture, and technique rather than pressing harder. With how to iron a shirt, following the right order can smooth collars, cuffs, sleeves, and front panels while reducing fresh creases or fabric damage. Careful handling also makes future touch-ups quicker and helps shirts keep a polished appearance longer.
For more practical everyday guides and lifestyle tips, explore TAG Mobile blog!
- Share This:
-

-

-

-

-


About the author
