

How to Tie a Bow Tie Like a Pro: A Beginner-Friendly Tying Guide
Few accessories bring as much character to formalwear as a properly tied bow tie. Learning how to tie a bow tie may seem complicated at first, but the technique becomes much easier once each fold and loop makes sense.
With a little practice, the right sizing, and careful adjustment, you can create a polished bow that feels comfortable and looks naturally balanced rather than overly stiff.
1. How to Tie a Bow Tie Step by Step
The tying process follows a logical sequence. You must cross the ends, tie the knot, form the loops, and adjust the tension carefully.
So, how to tie a bow tie? Practicing slowly in front of a mirror makes it easier to understand how each movement shapes the finished bow.
- Position the tie: Place the bow tie around your neck with one end hanging slightly longer than the other.
- Cross the ends: Bring the longer end over the shorter one at the center of your neck.
- Create the knot: Pull the longer end underneath and through the neck loop, then tighten it gently.
- Form the front bow: Fold the shorter end horizontally at its widest section.
- Wrap the longer end: Bring the hanging section straight down over the middle of the folded bow.
- Create the back loop: Fold the hanging end back on itself and push the folded portion through the opening behind the front bow.
- Tighten and shape: Pull gently on opposite folded loops until the knot feels secure.
>>> Read More: How to Patch Jeans: Easy Ways to Repair Holes That Last
2. How to Tie a Bow with Ribbon
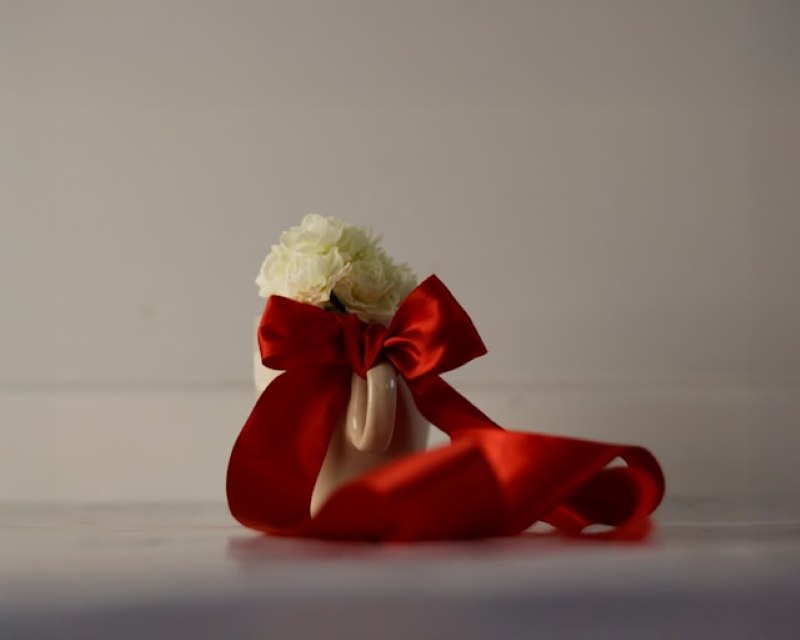
How to tie a bow tie with ribbon? Ribbon bows add a polished finishing touch to gift packages and celebratory displays.
Wired ribbon is particularly helpful for beginners because the material holds its shape while you arrange the loops.
- Measure the ribbon: Cut enough material to wrap around the gift or decorative item while leaving sufficient length for creating the bow and tails.
- Secure the center: Cross the ribbon ends and tie a firm knot. Keep the knot positioned where you want the finished bow to sit.
- Create the first loops: Form one loop on each side and compare their size before tightening. When learning how to tie a ribbon bow, keeping the loops relatively even helps create a more balanced appearance.
- Build additional volume: For a fuller decorative style, continue forming loops while pinching the center securely.
- Shape the bow: Anchor the center securely before pulling the loops apart to fluff each section into shape. Trim the ribbon tails diagonally or into a V shape for a cleaner decorative finish.
3. Common Bow Tie Mistakes to Avoid
Even when the tying sequence is correct, small mistakes can leave the finished bow uneven, uncomfortable, or loose.
Similar principles apply when learning how to tie a bow on a dress, because fabric alignment and controlled tension directly determine the final look.
Starting With Both Ends the Same Length
Beginning with perfectly equal ends can make it difficult to create the wrapping section later. One side should hang slightly longer so enough fabric remains to pass over the front bow and through the rear opening.
Adjust the difference gradually until the finished knot sits comfortably, and both loops appear balanced.
Pulling the Knot Too Tight
Excessive tension can flatten the loops and make the bow look narrow or distorted. Tighten gradually by pulling the folded sections rather than forcefully pulling the loose ends.
The bow should stay secure against the collar while still leaving enough flexibility to reshape the loops and center section.
Allowing the Fabric to Twist
Twisted fabric often makes one loop appear smaller or causes the center knot to look bulky. Keep checking that each section remains flat while crossing, folding, and looping the tie.
Correcting a twist early is much easier than trying to fix the shape after the entire bow has been tightened.
Trying to Create Perfect Symmetry
Hand-tied bow ties naturally have slight differences between the two sides. Constantly pulling and reshaping the fabric to achieve perfect symmetry can make the bow look stiff.
Focus on achieving a centered knot and natural proportions that complement your shirt collar rather than forcing identical measurements.
4. How to Choose the Right Bow Tie Size?
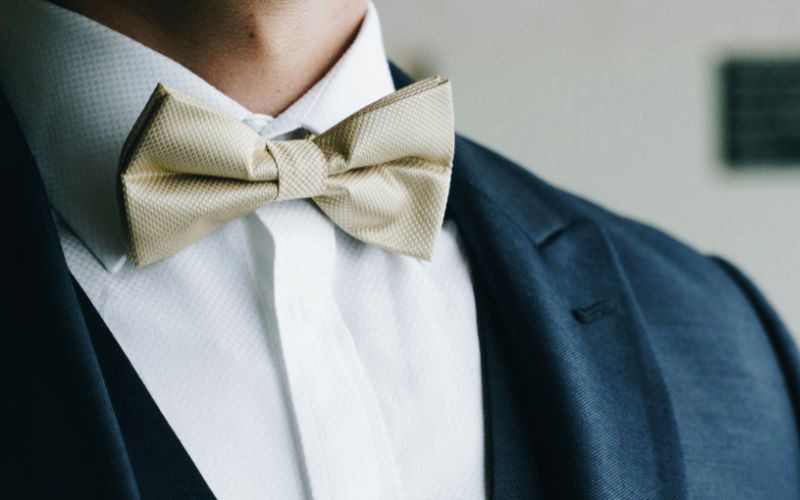
Good proportions help a bow tie complement your outfit instead of overwhelming it. Your facial structure, collar width, and event formality determine the ideal bow size and style.
Match the Bow to Your Face
Broader faces often pair naturally with slightly wider bow ties, while slimmer styles can complement narrower facial features. Once you know how to tie a bow tie, try several shapes and widths rather than relying on one universal size.
The bow should frame your face without appearing disproportionately large.
Consider Your Shirt Collar
Bow tie width should work comfortably with the shape and spread of your shirt collar. Standard point and spread collars accommodate many common styles, while unusually narrow or wide collars require more attention to proportion.
The finished bow should remain visible without completely covering or disappearing behind the collar.
Check Your Neck Measurement
When learning how to tie a bow tie, keeping the fabric flat throughout the process is essential. Twisted fabric can make one loop appear smaller or cause the center knot to look bulky.
Check each section as you cross, fold, and loop the tie, since correcting a twist early is much easier than fixing the bow after tightening.
Match the Style to the Occasion
Smaller, refined bows often suit formal occasions, while larger butterfly designs create a more expressive statement. Fabric also influences the overall effect. Silk and satin work naturally with tuxedos and eveningwear.
Meanwhile, textured fabrics like wool or cotton suit relaxed outfits and distinct personal styles.
5. Pair Your Sharp Look with Reliable Communication for Important Events
Formal events often require heavy phone usage for directions, photos, and scheduling coordination.
Keeping mobile expenses manageable can therefore be useful for eligible households that want dependable communication without adding unnecessary pressure to their monthly budget.
The Lifeline Program is a federal benefit designed to reduce the cost of qualifying phone or internet service for eligible low-income consumers. Lifeline qualification may be based on household income or participation in approved government assistance programs.
TAG Mobile is a Houston-based U.S. wireless provider and Eligible Telecommunications Carrier participating in Lifeline.
Customers choose TAG Mobile to access reliable nationwide network coverage, multilingual support, and affordable devices through the Lifeline program.
Ideal phone preferences depend on operating system familiarity and daily screen usage. Available plan perks and device pricing vary according to local ZIP code guidelines and current promotions.
- iPhone X: Stands out with its 5.8-inch OLED display, Face ID, and dual-camera system, making it a good fit for users who want a compact iPhone without a Home button.
- Samsung Galaxy A71 5G: Features a spacious 6.7-inch display, 5G support, and a 64MP main camera, well suited to video viewing, social media, and photography.
- Samsung Galaxy S20 5G: Combines a 120Hz-capable display, 5G connectivity, and versatile cameras, making it a stronger choice for smooth scrolling, streaming, and demanding apps.
- iPhone XR: Offers a 6.1-inch Liquid Retina display, Face ID, and a colorful design, ideal for users who want a roomy screen with straightforward iOS navigation.
- Samsung Galaxy A42 5G: Pairs a 6.6-inch Super AMOLED display with a 5,000mAh battery and 5G support, making it practical for extended everyday use and entertainment.
- iPhone 7 Plus: Provides a large 5.5-inch screen, Touch ID, and dual cameras, appealing to users who prefer the traditional Home button and larger iPhone format.
- iPhone 8: Combines a compact 4.7-inch design with Touch ID and wireless charging, making it convenient for users who prioritize one-handed use and familiar controls.

Note: Eligibility varies by state and program. Offers depend on availability and qualifications. TAG Mobile operates under the federal Lifeline Program as an Eligible Telecommunications Carrier (ETC). Service is non-transferable and limited to one service per household.
6. FAQs About Tying a Bow Tie
Bow tying becomes much easier once the basic movements feel familiar. These common questions address several practical concerns beginners may have before wearing a self-tie bow for an important event.
Is tying a bow tie difficult?
It can feel challenging during the first few attempts because part of the knot is created behind the visible front loops.
How long does it take to learn to tie a bow tie?
Many beginners can understand the basic process after a few practice sessions, although consistently creating a neat bow may take longer.
Should one end of a bow tie be longer before tying?
Yes. One end should normally hang slightly longer because it needs enough fabric to wrap over the front bow and pass through the rear loop.
Can you wear a bow tie with a regular suit?
Yes, a bow tie can pair well with a standard suit for weddings, dinners, celebrations, parties, and other occasions.
7. Final Thoughts
Mastering how to tie a bow tie depends more on repetition than perfect technique on the first attempt. Correct sizing, smooth folds, and controlled tension ensure the finished knot looks polished without appearing stiff.
Minor asymmetry is part of the charm of a self-tied bow. With regular practice, the entire process becomes faster, easier, and much more natural.
- Share This:
-

-

-

-

-

About the author
