

How to Sharpen Scissors at Home Using 3 Best Methods
Dull scissors can make simple cutting tasks frustrating, uneven, and slower than necessary. Learning how to sharpen scissors at home gives you a practical way to restore cleaner cuts without immediately replacing them.
Depending on the blade condition and tools available, several simple methods can help improve sharpness. Knowing when and how to use each option also helps protect the blades and extend the scissors’ usable life.
1. How to Sharpen Scissors at Home: 3 Common Methods
Choosing the right sharpening method depends on the condition of the blades and the tools available at home. Keeping the original bevel angle and removing only a small amount of metal can help restore cleaner cuts without damaging the scissors.
Sharpen Scissors With a Whetstone
For noticeably dull blades, a whetstone offers precise control and can restore a cleaner cutting edge when used carefully.
Learning how to sharpen scissors with a stone mainly requires following the existing bevel angle instead of creating a new one.
- Separate the blades if the scissors can be safely disassembled.
- Prepare the whetstone according to its instructions, using water or oil when required.
- Place the beveled edge against the stone at its original angle.
- Slide the blade smoothly across the stone in one direction several times.
- Repeat the same process with the second blade.
- Lightly remove any burr from the flat side without changing its shape.
- Clean and reassemble the scissors, then test them on paper.
Use a Knife Sharpener or Scissor Sharpener
Purpose-built sharpeners can make maintenance easier because many include guides that help keep the blade at a consistent angle.
When you start the process of how to sharpen scissors with a knife sharpener, first make sure the tool is specifically suitable for scissor blades.
- Open the scissors fully before positioning the blade in the sharpening slot.
- Follow the sharpener’s recommended direction and pressure.
- Pull the blade through the slot slowly and evenly.
- Repeat the motion only as many times as needed.
- Sharpen the second blade if the tool is designed for both sides.
- Wipe away any metal residue after sharpening.
- Test the scissors on paper and stop once the cutting action feels smooth.
Try Other Household Methods
Quick household techniques can help refresh scissors that are only mildly dull and do not have chipped or damaged edges.
Aluminum foil and fine sandpaper provide light abrasion, making them more suitable for touch-ups than for repairing seriously worn blades.
- Fold aluminum foil several times to create a thicker strip.
- Cut through the folded foil repeatedly using the full length of the blades.
- For sandpaper, choose a fine grit and position the abrasive side outward.
- Make several smooth cuts through the sandpaper from the base to the tip.
- Wipe the blades afterward to remove any loose particles.
- Test the scissors on plain paper.
- If cutting remains uneven, use a whetstone or dedicated sharpener instead.
>>> Read More: How to Clean a Blender and Remove Stubborn Residue
2. Identify the Scissor Type Before Choosing a Sharpener
Not every pair of scissors uses the same blade design, edge angle, or sharpening method, so identifying the type first can help prevent accidental damage.
Some everyday scissors tolerate simple sharpening tools, while specialized shears often require more precise techniques or professional servicing.
| Scissor Type | Common Uses | Sharpening Considerations |
| Household Scissors | Paper, packaging, and general home tasks | Usually have straightforward beveled edges and can often be sharpened with basic scissor sharpeners. |
| Craft Scissors | Paper, cardstock, ribbon, and DIY projects | Check the blade shape first, especially for decorative or specialty-edge models. |
| Fabric Shears | Cutting fabric, thread, and sewing materials | Require a consistently sharp edge; incorrect sharpening can affect clean, accurate cuts. |
| Kitchen Scissors | Herbs, food packaging, poultry, and other kitchen tasks | Some models separate for cleaning and sharpening; blade construction can vary considerably. |
| Hair-Cutting Scissors | Precision haircutting and trimming | Often use finely honed or convex edges that generally require specialized sharpening. |
| Thinning or Texturizing Shears | Removing hair bulk and creating texture | Toothed blades require specialized servicing and should not be treated like ordinary scissors. |
| Serrated Scissors | Gripping slippery materials or making controlled cuts | Serrated edges require special attention because standard sharpeners may damage the teeth. |
3. How to Tell When Your Scissors Have Sharpened Enough
Properly sharpened scissors should cut smoothly without requiring extra force or leaving ragged edges behind. Testing them on the material they are designed for can help you decide whether the blades are ready to use or still need more attention.
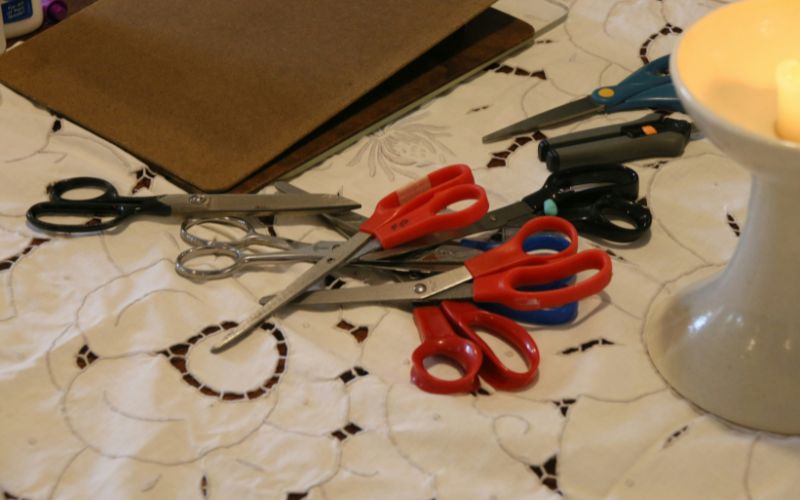
Clean, Effortless Cuts
Well-sharpened scissors should move through paper, fabric, or other suitable materials without snagging, folding, or tearing them.
If the blades close smoothly and produce a clean edge from the pivot to the tip, sharpening is usually sufficient and further grinding may remove more metal than necessary.
Consistent Cutting Along the Entire Blade
Sharpness should feel consistent from the base of the blades all the way to the tips. If one section still catches or fails to cut cleanly, the edge may need a little more work. Uneven performance often means the sharpening angle or contact along the blade was inconsistent.
Smooth Opening and Closing
The blades should open and close without scraping, sticking, or feeling unusually rough.
Sharpening can create small burrs or leave residue behind, so clean the blades and test the movement afterward. Smooth action usually indicates that the edges are aligned properly and no obvious rough spots remain.
No Visible Burrs or Rough Edges
Inspect the sharpened edge carefully under good lighting.
Small burrs or jagged areas can reduce cutting quality and may catch on delicate materials. Lightly removing these imperfections and retesting the scissors can help confirm that the sharpening process is complete without overworking the blade.
When to Get Scissors Professionally Sharpened
Specialty scissors deserve extra care, especially when the blades are chipped, misaligned, expensive, or designed for precision work.
For example, if you want to know how to sharpen hair scissors, it might be better to consider professional sharpening because salon shears often use specialized bevels or convex edges that can be damaged by ordinary household methods.
4. Common Sharpening Mistakes That Shorten Scissor Life
Sharpening can improve cutting performance, but poor technique may wear down the blades much faster than necessary. Avoiding excessive pressure, incorrect angles, and unsuitable tools helps preserve the edge and keeps the scissors working smoothly for longer.
Using the Wrong Sharpening Angle
Changing the original bevel angle can make the blades cut unevenly or fail to meet correctly.
When learning how to sharpen scissors, you should follow the existing edge instead of trying to create a steeper or flatter angle. Preserving the factory geometry usually gives cleaner results and reduces unnecessary metal removal.
Removing Too Much Metal
Over-sharpening can shorten blade life by grinding away more material than needed.
Several light, controlled passes are generally better than aggressive strokes. Stop once the scissors cut cleanly, because continuing to sharpen after the edge is already effective may weaken the blade and alter its shape.
Applying Too Much Pressure
Heavy pressure does not necessarily produce a sharper edge and can make the sharpening process less controlled.
Excess force may create uneven wear, deep scratches, or excessive burrs. Use steady, moderate pressure and let the abrasive surface do the work rather than forcing the blade against it.
Sharpening Both Sides Incorrectly
Many household scissors have a beveled cutting edge on one side and a flatter surface on the other.
Grinding both sides aggressively can change how the blades meet and reduce cutting efficiency. Follow the original blade design and only remove burrs lightly from the flat side when necessary.
Ignoring Blade Alignment and Pivot Tension
Dullness is not always the only reason scissors stop cutting well.
Loose pivot tension or misaligned blades can create gaps that sharpening alone will not fix. Check whether the blades meet evenly and tighten the pivot if appropriate before removing additional metal from the cutting edges.
5. Frequently Asked Questions About Sharpening Scissors
Simple household sharpening methods can help in some situations, but they do not work equally well for every type of blade. Knowing what each method can realistically do makes it easier to choose the right fix and avoid damaging the scissors.
Can aluminum foil really sharpen scissors?
Aluminum foil can help improve the cutting feel of lightly dull scissors by cleaning the edges and providing mild abrasion. However, it does not replace proper sharpening when the blades are badly worn, chipped, or significantly blunt.
Can sandpaper sharpen dull scissors?
Yes, fine-grit sandpaper can provide a quick touch-up by creating light abrasion along the cutting edges. It works best for mildly dull household scissors, while severely dull or damaged blades usually need a whetstone, dedicated sharpener, or professional service.
Why do scissors fold paper instead of cutting it?
Scissors often fold paper when the blades are dull, misaligned, or too loose at the pivot. Poor blade contact prevents the edges from shearing the material cleanly, so checking sharpness, alignment, and pivot tension can help identify the real cause.
6. Final Thoughts
Restoring a clean cutting edge does not require replacing your scissors every time they become dull. Once you know how to sharpen scissors, methods such as a whetstone, a suitable sharpener, aluminum foil, or fine sandpaper can help with different levels of wear.
Keeping the original blade angle and avoiding excessive grinding are just as important as the sharpening itself. Regular cleaning, correct pivot tension, and timely professional service can also help extend the life of your scissors.
- Share This:
-

-

-

-

-



About the author
